Nail your first 10 agent relationships and you'll never cold-call again. Relationships = referrals. One agent who trusts you can send 20–40 inspections a year. Ten agents like that and you're fully booked.
This guide walks you through every step of building that business — from certification to your first 100 inspections. The agent relationship strategy is in Step 7.
Home inspection is one of the most accessible and rewarding trades you can enter in 2026. The barrier to entry is reasonable, the earning potential is strong — see how much home inspectors make — and the demand is not going anywhere as long as people buy and sell homes. If you haven't gotten licensed yet, start with how to become a home inspector. After more than 11 years in this industry and over 2,750 inspections under my belt, I can tell you with confidence: this is a business where hard work pays off quickly -- if you set it up the right way from the start.
This guide walks you through every step, from earning your certification to booking your first 100 inspections. No fluff, no theory -- just the practical steps that actually matter.
Quick Answer
To start a home inspection business: get certified (InterNACHI or ASHI), check your state's licensing requirements, get E&O insurance, choose inspection software, set your pricing, build a website, and start networking with real estate agents. Startup costs range from $5,000-$15,000 — see our full startup cost breakdown for every line item.
Step 1: Get Certified and Educated
Before you inspect a single outlet or crawl under your first house, you need proper education. There are two major certification bodies in the United States, and choosing the right one sets the tone for your career.
InterNACHI (International Association of Certified Home Inspectors)
InterNACHI is the largest home inspection association in the world, and for good reason. Their training program is comprehensive, self-paced, and entirely online. The certification course covers structural systems, electrical, plumbing, HVAC, roofing, exteriors, insulation, ventilation, and more. Membership includes access to ongoing education, marketing resources, and a growing network of inspectors.
- Cost: Annual membership runs around $499/year, which includes all coursework
- Timeline: Most people complete the core certification in 4 to 8 weeks of dedicated study
- Exam: The National Home Inspector Examination (NHIE) is the standard -- InterNACHI's coursework prepares you for it
- Continuing Education: Free and unlimited for members, which keeps you compliant in most states
ASHI (American Society of Home Inspectors)
ASHI is the oldest home inspection association in North America. Their Standards of Practice are referenced in many state licensing laws. ASHI membership is respected industry-wide and signals credibility to real estate agents and clients.
- Cost: Membership starts around $300 to $500/year depending on your tier
- Timeline: ASHI itself does not provide a training course -- you will need to complete an approved training program separately
- Designation Path: Associate, Inspector, and Certified Inspector tiers based on completed inspections
Passing the NHIE
The National Home Inspector Examination is a 200-question, multiple-choice test administered at Pearson VUE testing centers. It covers three domains: property and building inspection, analysis of findings, and reporting. The pass rate hovers around 50 to 60 percent on the first attempt, so take it seriously. Study the InterNACHI materials thoroughly, take practice exams, and give yourself at least two weeks of focused review before your test date. The exam fee is $225.
Step 2: Understand Your State Licensing Requirements
Home inspection licensing varies dramatically from state to state. Some states have strict requirements including mandatory classroom hours, supervised inspections, and state exams. Others have virtually no regulation at all. As of 2026, the majority of U.S. states require some form of licensing or registration.
Here is what you need to research for your specific state:
- Pre-licensing education hours: Some states require 60 to 200 hours of approved coursework
- Supervised inspections: Many states require you to complete 25 to 100 supervised inspections before you can work independently
- State exam: Some states accept the NHIE, others have their own exam, and some accept both
- Background check: Most states require a criminal background check
- Insurance requirements: Several states mandate E&O (Errors and Omissions) insurance before they will issue a license
- Continuing education: Annual CE requirements range from 0 to 40 hours per year
Step 3: Set Up Your Business Entity
Once you have your certification and licensing squared away, it is time to build the business structure. This is where many new inspectors cut corners -- do not be one of them.
Business Structure: LLC is the Standard
Form a Limited Liability Company (LLC) in your state. An LLC separates your personal assets from your business liabilities, which is critical in an industry where you are assessing the condition of someone's largest financial investment. Filing an LLC typically costs $50 to $500 depending on your state. You can do it yourself through your Secretary of State's website or use a service like LegalZoom or Northwest Registered Agent.
Insurance: Non-Negotiable
You need two types of insurance, and you need them before you perform your first inspection:
- General Liability Insurance: Protects you if someone is injured during an inspection (you trip over a garden hose and damage property, a client slips on a wet floor you pointed out, etc.). Expect to pay $400 to $800 per year for a standard $1 million/$2 million policy.
- Errors and Omissions (E&O) Insurance: This is your professional liability coverage. If you miss a defective furnace or fail to note a major roof issue, E&O insurance covers legal defense and settlements. Expect $1,200 to $3,000 per year depending on your coverage limits and claims history.
InterNACHI members get access to discounted E&O insurance through their partnership with insurance providers, which can save you several hundred dollars annually.
Business Essentials Checklist
- EIN (Employer Identification Number) from the IRS -- free, takes 5 minutes online
- Business bank account separate from your personal accounts
- Business credit card for tracking expenses
- Accounting software (QuickBooks Self-Employed or Wave for starters)
- Contracts and pre-inspection agreements (templates available through InterNACHI)
Step 4: Invest in the Right Equipment
You do not need to spend a fortune on gear when you are starting out, but you do need the essentials. Here is a realistic equipment list with approximate costs:
- Infrared (thermal) camera: $300 to $500 for an entry-level FLIR ONE or Seek Thermal attachment for your phone. A standalone unit like the FLIR C5 runs around $500 to $700. Thermal imaging has gone from a nice-to-have to a client expectation in 2026.
- Moisture meter: $40 to $150. Pin-type and pinless options are both useful. The Protimeter Surveymaster is a popular dual-mode choice around $300.
- Electrical tester: $15 to $30 for a standard outlet tester. A non-contact voltage tester runs $20 to $40.
- Gas leak detector: $40 to $80. Combustible gas detectors are essential for checking around furnaces, water heaters, and gas lines.
- Carbon monoxide detector: $30 to $60 for a portable unit with digital readout.
- Ladder: $150 to $300 for a multi-position ladder (Little Giant or equivalent). You need something that telescopes for transport but extends to reach single-story roofs.
- Flashlight: $30 to $80 for a high-lumen rechargeable flashlight. You will use this in every crawlspace and attic.
- Personal protective equipment: $50 to $100 for a respirator, knee pads, coveralls, gloves, and safety glasses.
- Tablet or smartphone: You likely already own one. This is where your inspection software lives.
Total starter equipment investment: roughly $800 to $2,000 depending on your choices. You can always upgrade to higher-end tools as revenue comes in.
Step 5: Choose Your Inspection Software
Your inspection software is the backbone of your business. It handles report writing, scheduling, client communication, invoicing, and your online presence. Choosing the best home inspection software from day one saves you the headache of migrating data and retraining later.
Here is what to look for in inspection software in 2026:
- Report writing speed: The software should let you generate a professional, photo-rich report in under an hour on-site. Look for comment libraries, templates, and AI-assisted writing.
- Online booking and quoting: Clients and real estate agents expect to get an instant quote and book online without calling you. An instant quote calculator on your website converts visitors into booked inspections 24/7.
- Calendar and scheduling: Integrated calendar scheduling that syncs with your availability and sends automatic confirmations and reminders eliminates no-shows and double bookings.
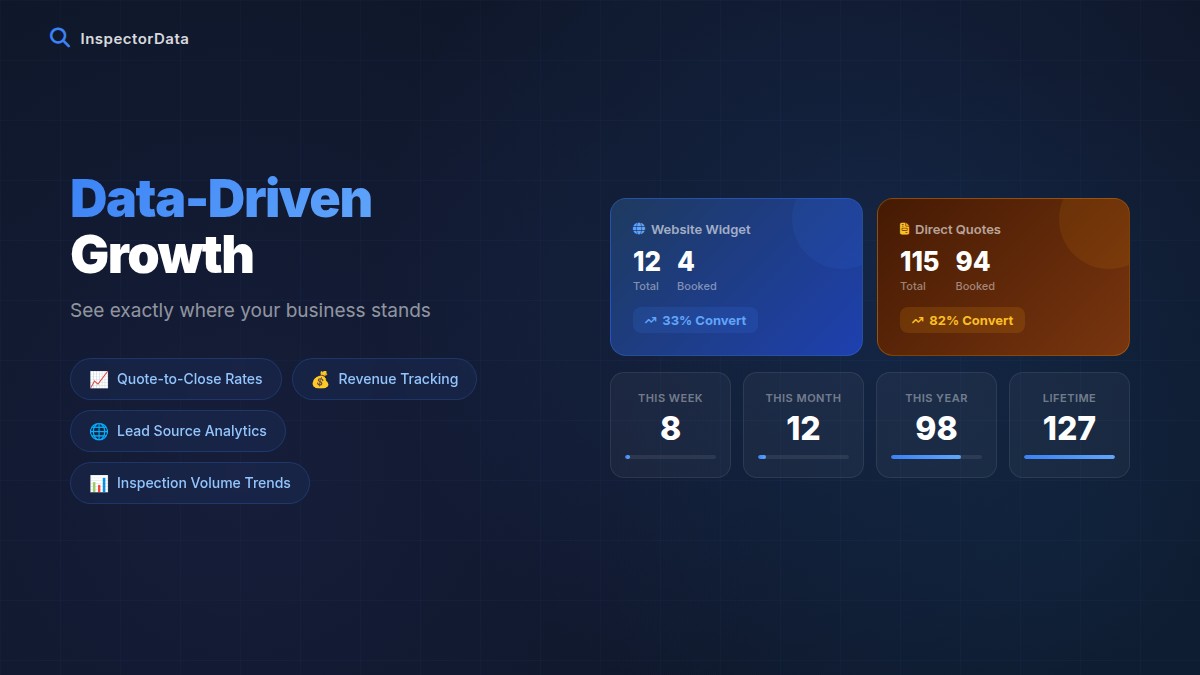
- Client management: A built-in CRM tracks your clients, agents, and referral sources so you can nurture relationships and generate repeat business.
- Mobile-friendly: You are in the field all day. Your software needs to work flawlessly on a phone or tablet, even with spotty connectivity.
- Agreement and contract management: Digital pre-inspection agreements that clients sign before the inspection protect you legally and streamline the process.
The right software platform handles all of this in one place, so you are not stitching together five different tools. Take a look at the full feature set of a modern inspection platform to understand what is available.
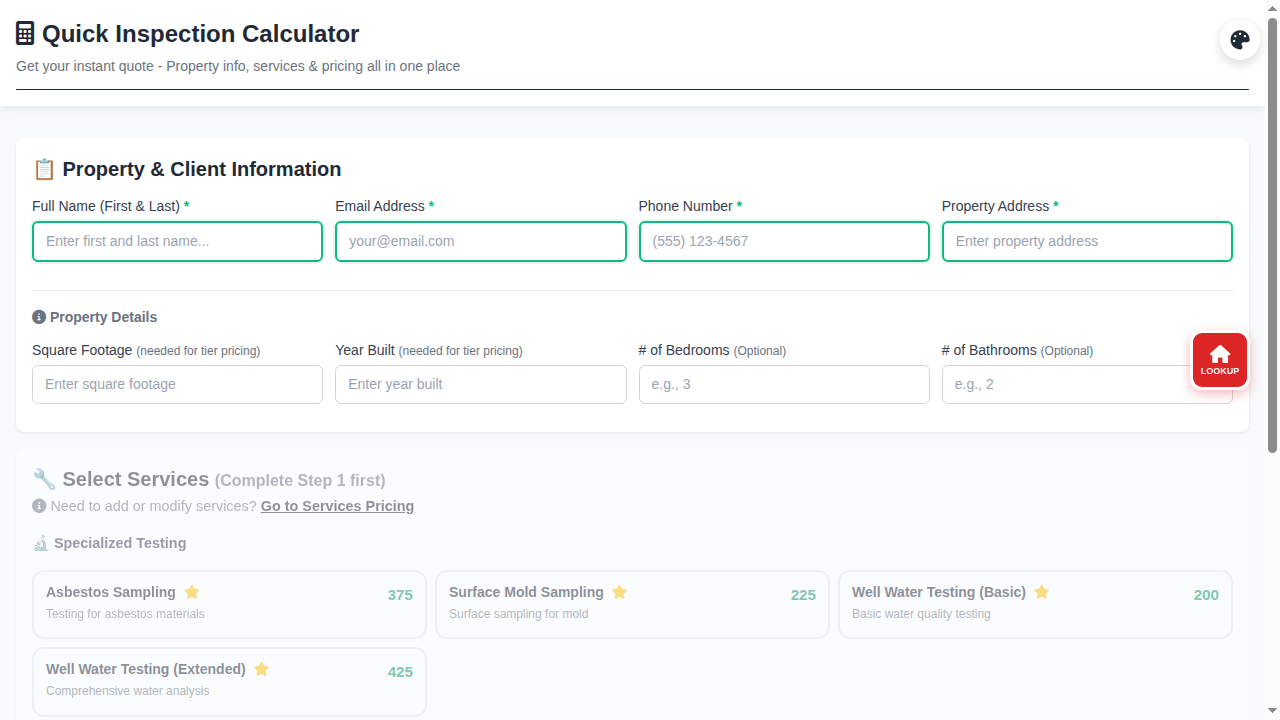
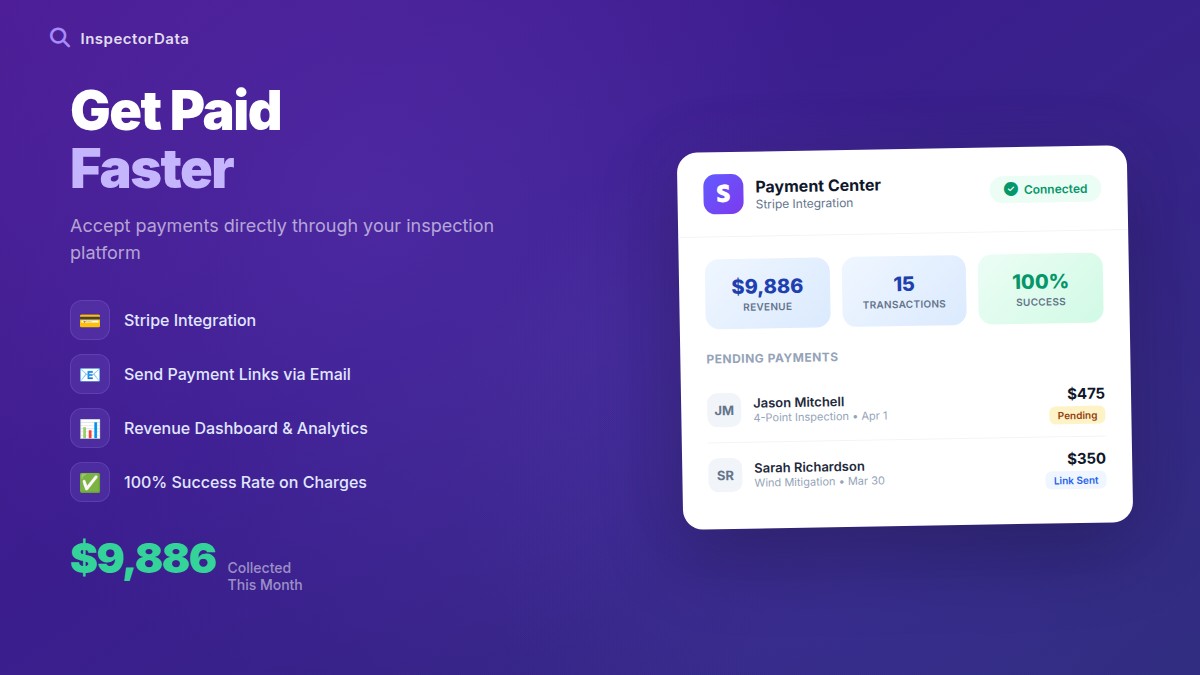
Instant Online Quotes, 24/7 Booking
Embed InspectorData's quote calculator on your website. Clients get instant pricing and book online -- no phone calls required. Included free at $79/mo.
See the Quote CalculatorStep 6: Price Your Services for Profit
Pricing is where many new inspectors stumble. They look at what the cheapest competitor charges and try to undercut them. This is a race to the bottom that leads to burnout and bankruptcy. Instead, price based on value, your costs, and your market.
Average Inspection Pricing in 2026
Inspection pricing varies significantly by state, market, home size, and home age — location is the single biggest driver. Research what established inspectors in your area charge. Here are common pricing factors to consider:
- Base rate for a standard inspection: Varies by market — research local competitors
- Square footage upcharge: Most inspectors charge more for larger homes
- Age of home upcharge: Older homes (pre-1980) require more evaluation time
- Crawlspace/basement add-on: Additional charge depending on accessibility
- Travel fee: Additional charge for inspections beyond your standard service radius
Ancillary Services: Where the Real Money Is
Your base inspection fee keeps the lights on. Ancillary services build your income. These are add-on services you can offer at the time of booking:
- Radon testing: $125 to $175 (requires a radon monitor -- about $800 to $1,500 for the device)
- Termite/WDI inspection: $75 to $150 (may require separate licensing in your state)
- Sewer scope: $150 to $250 (camera equipment runs $1,500 to $5,000)
- Mold testing: $150 to $300 per sample (lab fees are $30 to $50 per sample)
- Pool/spa inspection: $100 to $200
A single inspection with two or three ancillary services can easily reach $600 to $800. Over a full schedule of 4 to 5 inspections per week, these add-ons make a substantial difference in your annual revenue.
Step 7: Market to Real Estate Agents
Real estate agents are the lifeblood of a home inspection business, especially in your first two years. A single active agent who trusts your work can send you 5 to 15 inspections per year. Build a network of 20 to 30 agents and you have a full schedule.
How to Get in Front of Agents
- Attend local Realtor association meetings: Most boards of Realtors hold monthly meetings, luncheons, and continuing education events. Show up, introduce yourself, and be genuinely helpful. Do not pitch -- just build relationships.
- Offer lunch-and-learns: Bring lunch to a real estate office and do a 20-minute presentation on what inspectors look for, common deal-killers, or how to read an inspection report. This positions you as an expert and puts your face in front of 10 to 30 agents at once.
- Drop off marketing materials: Business cards, brochures, and a one-pager explaining your services and pricing. Include a QR code that links directly to your online booking page.
- Follow up after every inspection: Send a brief, professional email to the referring agent after each inspection. Thank them for the referral, let them know the report is delivered, and ask if there is anything else you can help with. Consistency builds trust.
- Be easy to work with: Agents refer inspectors who are responsive, professional, deliver reports on time, and do not kill deals unnecessarily. Answer your phone. Return emails within an hour. Deliver reports within 24 hours -- same day if possible.
How to Lock In Your First 10 Agent Relationships
Most new inspectors approach agent marketing wrong — they blast cards everywhere and wait. Instead, focus intensely on 10 specific agents and convert them into loyal referral sources. Here's the exact playbook:
- Identify the right 10. Find agents who close 15+ transactions per year (check your MLS or Zillow agent profiles). Mid-volume agents are better targets than top producers — top producers already have established inspector relationships. Look for agents who have been in business 2–5 years: experienced enough to have volume, new enough to still be building their vendor network.
- Make personal contact — not email. Walk into their office. Bring coffee or lunch. Introduce yourself as a new inspector building your local network. Hand them a business card and a one-page "why choose me" sheet with your certifications, sample report link, and QR code to your booking page. Don't pitch hard — just plant the seed.
- Send a sample report. Within 24 hours of meeting, email them a link to your best sample report. Include a one-line note: "Wanted you to see the kind of report your clients would receive." A great report sells itself.
- Offer the first inspection at your cost. For agents you really want to land, offer to do one inspection at your base cost (not free — free signals low value). This gets your report in front of their client and proves your work under real conditions.
- Follow up after the inspection — always. Send a short email to the agent: "Report is in your client's inbox. Please let me know if anything came up that I can clarify." This is the moment most inspectors drop the ball. Closing the loop is what separates you from everyone else.
- Ask for a Google review after inspection #2. Not #1 — that feels transactional. After the second referral, send a personalized ask: "I'm building my online presence and your endorsement would mean a lot. Would you mind leaving a quick Google review?"
- Stay visible without being annoying. Drop into their office quarterly. Share a useful resource (a one-pager on seasonal home maintenance their clients might find helpful). Send a brief holiday note. The goal is to be the inspector who comes to mind the moment a client asks for a referral.
- Deliver reports the same day. This is your single biggest competitive advantage. Most inspectors deliver within 24 hours. Same-day delivery (evening of the inspection) makes agents' lives easier during contract windows. They will remember you for it.
- Know what agents fear. Agents worry about inspectors who are alarmist, kill deals unnecessarily, or make buyers panic over minor findings. Be thorough and honest — but present findings clearly and proportionately. A professional report that helps clients understand what's significant versus what's routine builds agent confidence faster than anything.
- Track your referrals and acknowledge them. Know exactly which agents sent you business and how much. After 5 referrals from one agent, send a handwritten thank-you card. After 10, drop off a small gift. Referral relationships are built on recognition and reciprocity.
If each of your 10 agents averages just 8 closed transactions per year and recommends you 60% of the time, that's 48 inspections from 10 relationships. At $450 average, that's $21,600/year from a network you can build in your first 90 days. Scale to 20–30 agents and your schedule fills itself.
Step 8: Build Your Online Presence
In 2026, your online presence is often the first impression a potential client has of your business. A professional, functional website is not optional -- it is foundational.
Website Essentials
- Professional design: Clean, mobile-responsive, and fast-loading. First impressions matter.
- Online quote calculator: Let visitors get an instant price based on square footage, age, location, and selected services. This single feature will generate more bookings than anything else on your website.
- Online scheduling: Integrated calendar that shows your real availability and lets clients book and pay a deposit immediately.
- Service area page: List every city and county you serve. This is critical for local SEO.
- About page: Your certifications, experience, photo, and why someone should trust you with their largest purchase.
- Sample report: Let potential clients see the quality of your work before they book.
- Reviews and testimonials: Social proof from satisfied clients and agents.
Google Business Profile
Set up and optimize your Google Business Profile immediately. This is how you show up in "home inspector near me" searches and on Google Maps. Add photos, respond to reviews, post updates regularly, and make sure your service area, hours, and contact information are accurate. A well-maintained Google Business Profile is the single most valuable free marketing tool available to a local service business.
Social Media
You do not need to be on every platform. Focus on Facebook and Instagram. Post photos from inspections (with permission and no addresses), share educational content about home maintenance, and engage with local real estate groups. Consistency matters more than volume -- three quality posts per week is better than daily filler.
Step 9: Book Your First 100 Inspections
The first 100 inspections are where you go from student to professional. Here is how to build momentum quickly:
Months 1 to 3: Foundation
- Complete your certification and state licensing
- Set up your LLC, insurance, and business accounts
- Purchase essential equipment
- Choose and set up your inspection software
- Build your website with online quoting and scheduling
- Create your Google Business Profile
- Start attending Realtor events and introducing yourself
Months 3 to 6: Traction
- Target 2 to 3 inspections per week
- Deliver reports same-day to build a reputation for speed and reliability
- Ask every satisfied client and agent for a Google review
- Schedule lunch-and-learns at two real estate offices per month
- Refine your report templates and comment library based on real-world experience
- Add one ancillary service (radon or termite are the most common starting points)
Months 6 to 12: Scale
- Target 4 to 5 inspections per week
- Your referral network should be generating consistent bookings by now
- Invest in a second ancillary service
- Consider targeted Google Ads for your highest-value service areas
- Track your numbers: average fee, inspections per week, revenue per inspection, and referral sources
- At 4 inspections per week with an average fee of $425, you are on pace for roughly $88,000 in annual revenue in your first year
By inspection number 100, you will have refined your process, built a referral network, and developed the confidence that only comes from hands-on experience. Most inspectors hit this milestone within their first 6 to 9 months if they are marketing consistently.
Common Mistakes to Avoid
After more than a decade in this business, I have seen talented inspectors fail because of avoidable mistakes:
- Underpricing your services: Competing on price attracts price-sensitive clients and signals low quality to agents. Compete on professionalism, speed, and thoroughness instead.
- Neglecting your online presence: A website that looks like it was built in 2010 costs you bookings every day. Invest in a professional platform.
- Skipping insurance: One missed defect and one lawsuit can end your business overnight. E&O insurance is not optional.
- Burning out on report writing: If you are spending 3 to 4 hours per report, your software is failing you. The right tools get reports done in under an hour.
- Not following up with agents: The inspection itself is only half the job. The follow-up is what generates the next referral.
- Trying to do everything yourself: Use software to automate scheduling, quoting, invoicing, and client communication. Your time is better spent on inspections and relationship building.
Startup Costs and Timeline: The Complete Checklist
Here is a realistic breakdown of what it takes to go from zero to operating home inspection business:
| Task | Estimated Cost | Timeline |
|---|---|---|
| InterNACHI membership and training | $499/year | 4 to 8 weeks |
| NHIE exam fee | $225 | Schedule after training |
| State licensing and registration | $100 to $500 | 2 to 6 weeks (varies by state) |
| LLC formation | $50 to $500 | 1 to 2 weeks |
| General liability insurance | $400 to $800/year | 1 to 3 days |
| E&O insurance | $1,200 to $3,000/year | 1 to 3 days |
| Essential inspection equipment | $800 to $2,000 | 1 to 2 weeks (shipping) |
| Inspection software platform | $0 to $200/month | 1 to 2 days setup |
| Website with online booking | Included with software or $500 to $2,000 | 1 to 2 weeks |
| Google Business Profile setup | Free | 1 day (verification takes 1 to 2 weeks) |
| Business cards and marketing materials | $100 to $300 | 1 week |
| Accounting software | $0 to $30/month | 1 day |
| Total Estimated Startup Investment | $3,400 to $9,800 | 8 to 16 weeks |
Compared to most businesses, the startup cost for a home inspection company is remarkably low. You can be fully operational for under $5,000 if you are strategic about your spending, and you can start generating revenue within weeks of earning your license.
The Bottom Line
Starting a home inspection business in 2026 is a straightforward path to building a profitable, independent career. The demand is steady, the startup costs are manageable, and the ceiling is high for inspectors who invest in their skills, their tools, and their relationships.
Get certified. Get licensed. Get insured. Set up your business with the right software from day one. Market relentlessly to real estate agents. Deliver exceptional reports, fast. Do those things consistently and you will not just reach 100 inspections -- you will build a business that sustains you for years to come.
Ready to Transform Your Inspection Business?
Join hundreds of inspectors writing better reports in less time with InspectorData.
Start Your 30-Day Free Trial